What is MAUI?
Microsoft released MAUI only a few weeks ago and it serves as the successor to UWP and Xamarin in the platform-agnostic space. Consider it Microsoft’s competitor with the Javascript-based UI frameworks we have all become familiar with over the last 10 years. You can read more about MAUI here:
https://docs.microsoft.com/en-us/dotnet/maui/what-is-maui
Paths to building the MAUI front-end
Microsoft offers 2 different paths to building your MAUI front-end: XAML or Blazor. In this article we will be looking at the default XAML application and we will modify it to utilize MVVM like we have been doing for years with other XAML implementation. The end result will offer better abstraction and simpler UI implementation. If you don’t know what MVVM is, read about it here:
https://docs.microsoft.com/en-us/xamarin/xamarin-forms/enterprise-application-patterns/mvvm
Let’s get to it…
Prerequisites
- Visual Studio 17.3+ (2022+)
Step 1 – Create a new MAUI project
- In Visual Studio 2022 for to File -> New -> Project.
- Search for .NET MAUI App, select, and click Next.
- Make the Project Name MauiMvvmDemo, choose your repository location, check Place solution and project in the same directory, and click Next.
- For Framework choose .NET 10.0 (Long-term support) and click Create.
Step 2 – Install Libraries
- Open the Nuget Browser, by navigating to Tools -> NuGet Package Manager -> Manage Nuget Packages for Solution…

- Select Browse and search for Xcalibur.Extensions.MVVM.V2.
- Select your project in the right pane (MauiMvvmDemo) and Choose Install. Accept the licensing prompts (if they appear).

- Close the Nuget Solution tab.


Step 3 – Create the ViewModel
- Create a new class in the project root and call it MainPageViewModel.cs.
- Paste in the following code:
using System.Windows.Input;
using Xcalibur.Extensions.MVVM.V2.Models;

namespace MauiMvvmDemo
{
    /// <summary>
    /// View Model - Main
    /// </summary>
    /// <seealso cref="ModelBase" />
    internal class MainViewModel : ModelBase
    {
        #region Members

        private int _count;
        private string _buttonText;

        #endregion

        #region Properties

        /// <summary>
        /// Gets or sets the button text.
        /// </summary>
        /// <value>
        /// The button text.
        /// </value>
        public string ButtonText
        {
            get => _buttonText;
            set => NotifyOfChange(value, ref _buttonText);
        }

        /// <summary>
        /// Gets or sets the button command.
        /// </summary>
        /// <value>
        /// The button command.
        /// </value>
        public ICommand ButtonCommand => new Command(UpdateCount);

        #endregion

        #region Constructors

        /// <summary>
        /// Initializes a new instance of the <see cref="MainViewModel"/> class.
        /// </summary>
        public MainViewModel()
        {
            ButtonText = "Click me!";
        }

        #endregion

        #region Methods

        /// <summary>
        /// Updates the count command.
        /// </summary>
        /// <returns></returns>
        private void UpdateCount()
        {
            _count++;

            // Update text
            var suffix = _count == 1 ? "time" : "times";
            var text = $"Clicked this {_count} {suffix}!";
            ButtonText = text;

            // Announce to screen reader
            SemanticScreenReader.Announce(text);
        }

        #endregion
    }
}
Deep Dive – What are the key pieces of this ViewModel?
Since we are working with a ViewModel, it is important to notice we are only working with properties and methods rather than control-based events.
ModelBase
This class does a lot of the INPC work for us and makes implementation a lot simpler.
Here is the key:
/// <summary>
/// Gets or sets the button text.
/// </summary>
/// <value>
/// The button text.
/// </value>
public string ButtonText
{
	get => _buttonText;
	set => NotifyOfChange(value, ref _buttonText);
}
All of the INPC goodness can be simplified to a property using NotifyOfChange with a backing field.
https://xcalibursystems.com/creating-a-viewmodel-base-part-i-cleaning-up-your-custom-objects/
ICommand
Back in the WPF days we used to have to create a separate class to inherit from ICommand in order to make clean commands for WPF to trigger. Since those days this has been dramatically simplified as such:
/// <summary>
/// Gets or sets the button command.
/// </summary>
/// <value>
/// The button command.
/// </value>
public ICommand ButtonCommand => new Command(UpdateCount);
All you need to do is invoke a new Command and call your method, which can be made private.
UpdateCount
Lastly, we have our UpdateCount method which handles updating the button text via a bound property rather than affecting the control directly.
/// <summary>
/// Updates the count command.
/// </summary>
/// <returns></returns>
private void UpdateCount()
{
	_count++;

	// Update text
	var suffix = _count == 1 ? "time" : "times";
	var text = $"Clicked this {_count} {suffix}!";
	ButtonText = text;

	// Announce to screen reader
	SemanticScreenReader.Announce(text);
}
Anyhow, let’s continue…
Step 4 – Update MainPage.xaml
Let’s update the XAML file with the following code to use our ViewModel:
<?xml version="1.0" encoding="utf-8" ?>
<ContentPage xmlns="http://schemas.microsoft.com/dotnet/2021/maui"
             xmlns:x="http://schemas.microsoft.com/winfx/2009/xaml"
             xmlns:vm="clr-namespace:MauiMvvmDemo"
             x:Class="MauiMvvmDemo.MainPage">

    <ContentPage.BindingContext>
        <vm:MainViewModel />
    </ContentPage.BindingContext>

    <ScrollView>
        <VerticalStackLayout
            Spacing="25"
            Padding="30,0"
            VerticalOptions="Center">

            <Image
                Source="dotnet_bot.png"
                SemanticProperties.Description="Cute dot net bot waving hi to you!"
                HeightRequest="200"
                HorizontalOptions="Center" />

            <Label
                Text="Hello, World!"
                SemanticProperties.HeadingLevel="Level1"
                FontSize="32"
                HorizontalOptions="Center" />

            <Label
                Text="Welcome to .NET Multi-platform App UI"
                SemanticProperties.HeadingLevel="Level2"
                SemanticProperties.Description="Welcome to dot net Multi platform App U I"
                FontSize="18"
                HorizontalOptions="Center" />

            <Button
                Text="{Binding Path=ButtonText}"
                SemanticProperties.Hint="Counts the number of times you click"
                Command="{Binding Path=ButtonCommand}"
                HorizontalOptions="Center" />

        </VerticalStackLayout>
    </ScrollView>

</ContentPage>
Deep Dive – What are the key changes?
Now that we have a ViewModel instead of direct calls in the codebehind, we will need to make a few key changes.
The Binding Context
In WPF we typically did this from the codebehind. To simplify that code, we add this to the XAML with the following block:
<ContentPage.BindingContext>
	<vm:MainViewModel />
</ContentPage.BindingContext>
Now our XAML’s binding context is our MainViewModel as desired.
The Button
For this example, the heart of the binding centers on the Button:
<Button
	Text="{Binding Path=ButtonText}"
	SemanticProperties.Hint="Counts the number of times you click"
	Command="{Binding Path=ButtonCommand}"
	HorizontalOptions="Center" />
- ButtonText gives us the current button text.
- ButtonCommand maps to our button click action.
Step 5 – Cleanup Mainpage.xaml.cs
Let’s update our codebehind page to be simply:
namespace MauiMvvmDemo;

public partial class MainPage : ContentPage
{
	public MainPage()
	{
		InitializeComponent();
	}
}
Remember, the work done originally is now abstracted to the ViewModel. So, this codebehind doesn’t need to do anything but Initialize the UI.
Step 6 – Build
Note, this might take a little time the first time through.

Step 7 – Run
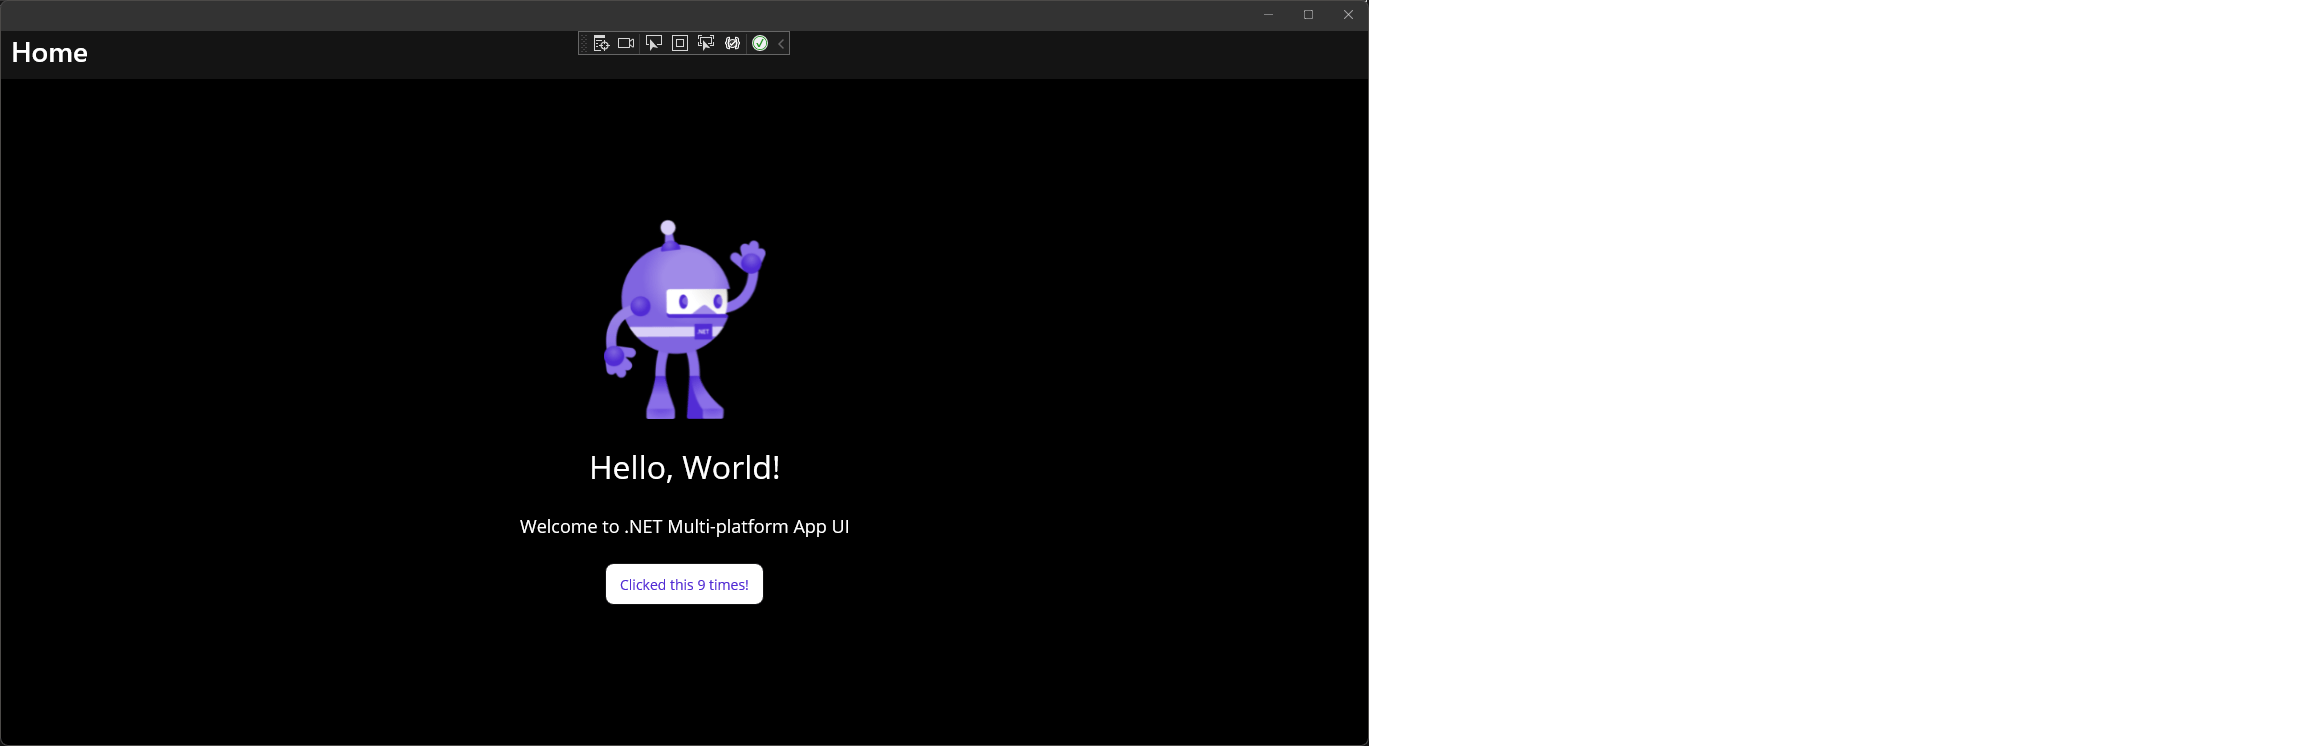
Keep clicking the button to see the label update.
Step 8 – All Done!
That’s all there is to it. Happy coding….